
Set up integration, receive user reviews and work with them directly in Omnidesk
Asodesk
-
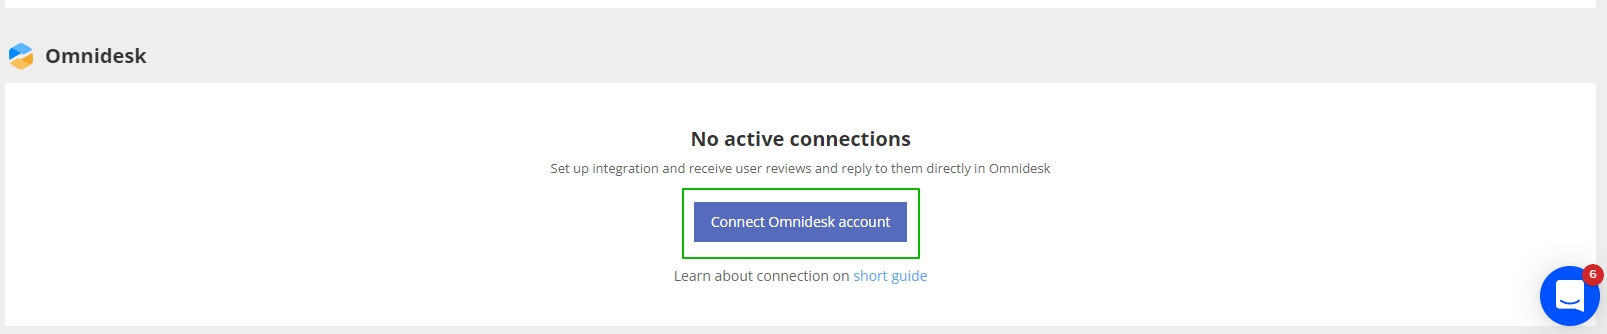
Go to Integrations settings in Asodesk. Click on Connect Omnidesk account.
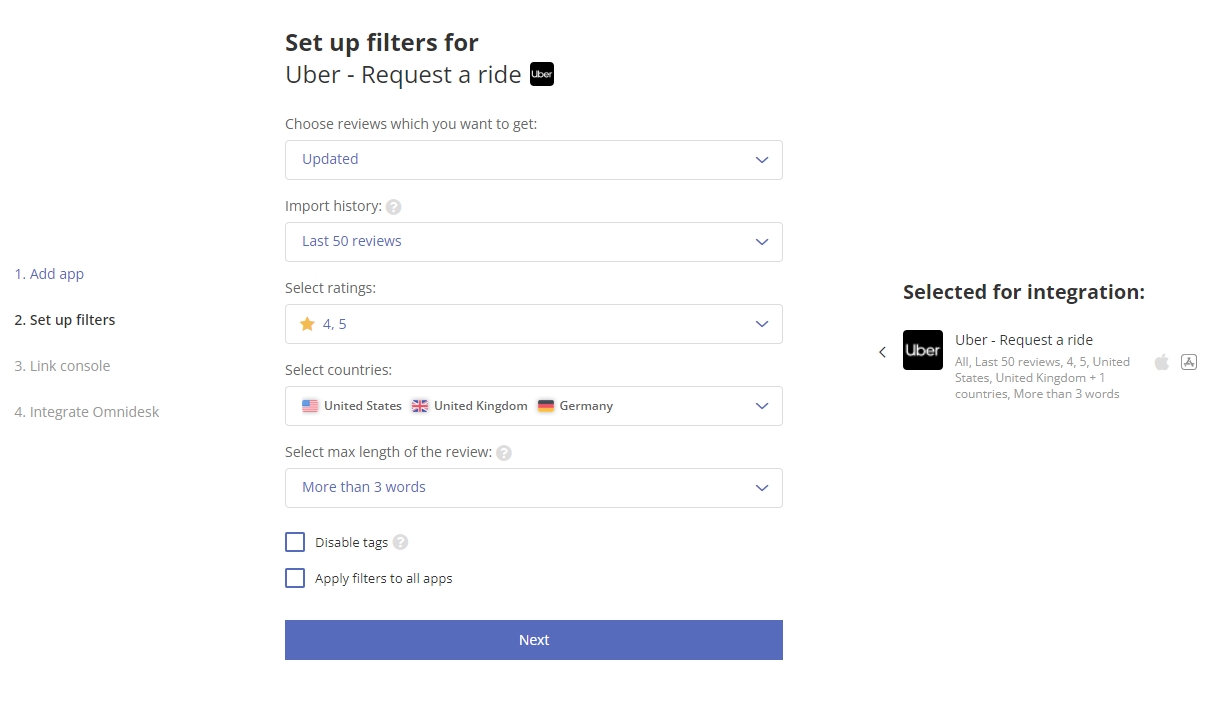
2. Select app for integration with Omnidesk and click on Next:

3. Set up filters:
4. For integration with Omnidesk to work, you need a connected Asodesk integration with App Store Connect or Google Developer Console. You can link a store console now or do it later.

5. Add data from Omnidesk. Detailed instructions on how and where to access the data will be provided in the following steps.

Omnidesk
In order to connect Asodesk with Omnidesk, you will need to set up the following data:
-
API Key
- You need to go to the 'Settings' section and click on the 'API' link in the left menu;
- Next, you need to create a key:

2. Subdomain
This is the unique text value which can be found in the URL path to access your Omnidesk panel. (Example: if the path is https://name.omnidesk.ru/, then the subdomain will be 'name')
Copy the subdomain and paste it in the Asodesk UI.
3. Administrator's email address
Providing the email address of the main administrator is crucial, as this ensures that all Omnidesk tools have the necessary permissions for the integration to function smoothly.
Copy the email and paste it in the Asodesk UI.
4. Custom channel
This channel allows Asodesk to synchronize your responses from Asodesk to your customers on the App Store or Google Play.
-
- In order to create it, you need to go to the 'Channels' page in the admin panel and click 'Custom channels' in the left menu.
- Next, you need to click on the 'Add custom channel' button, after which a form will open for entering the following fields:
-
-
-
Name, icon and color at your choice. This name and icon will help identify which reviews originate from Asodesk;
-
Webhook url: paste https://hq.asodesk.com/omnidesk/api/hooks/pull/
-
Default group at your choice;
-
Channel type at your choice;
-
-
d. After filling in the fields, it is necessary to click the "Create channel" button;
Important!
Make sure that correct data fields were created. Go to 'Customer Query Management' -> 'Data fields' and check if there is a 'text field' with a name corresponding to your custom channel name.
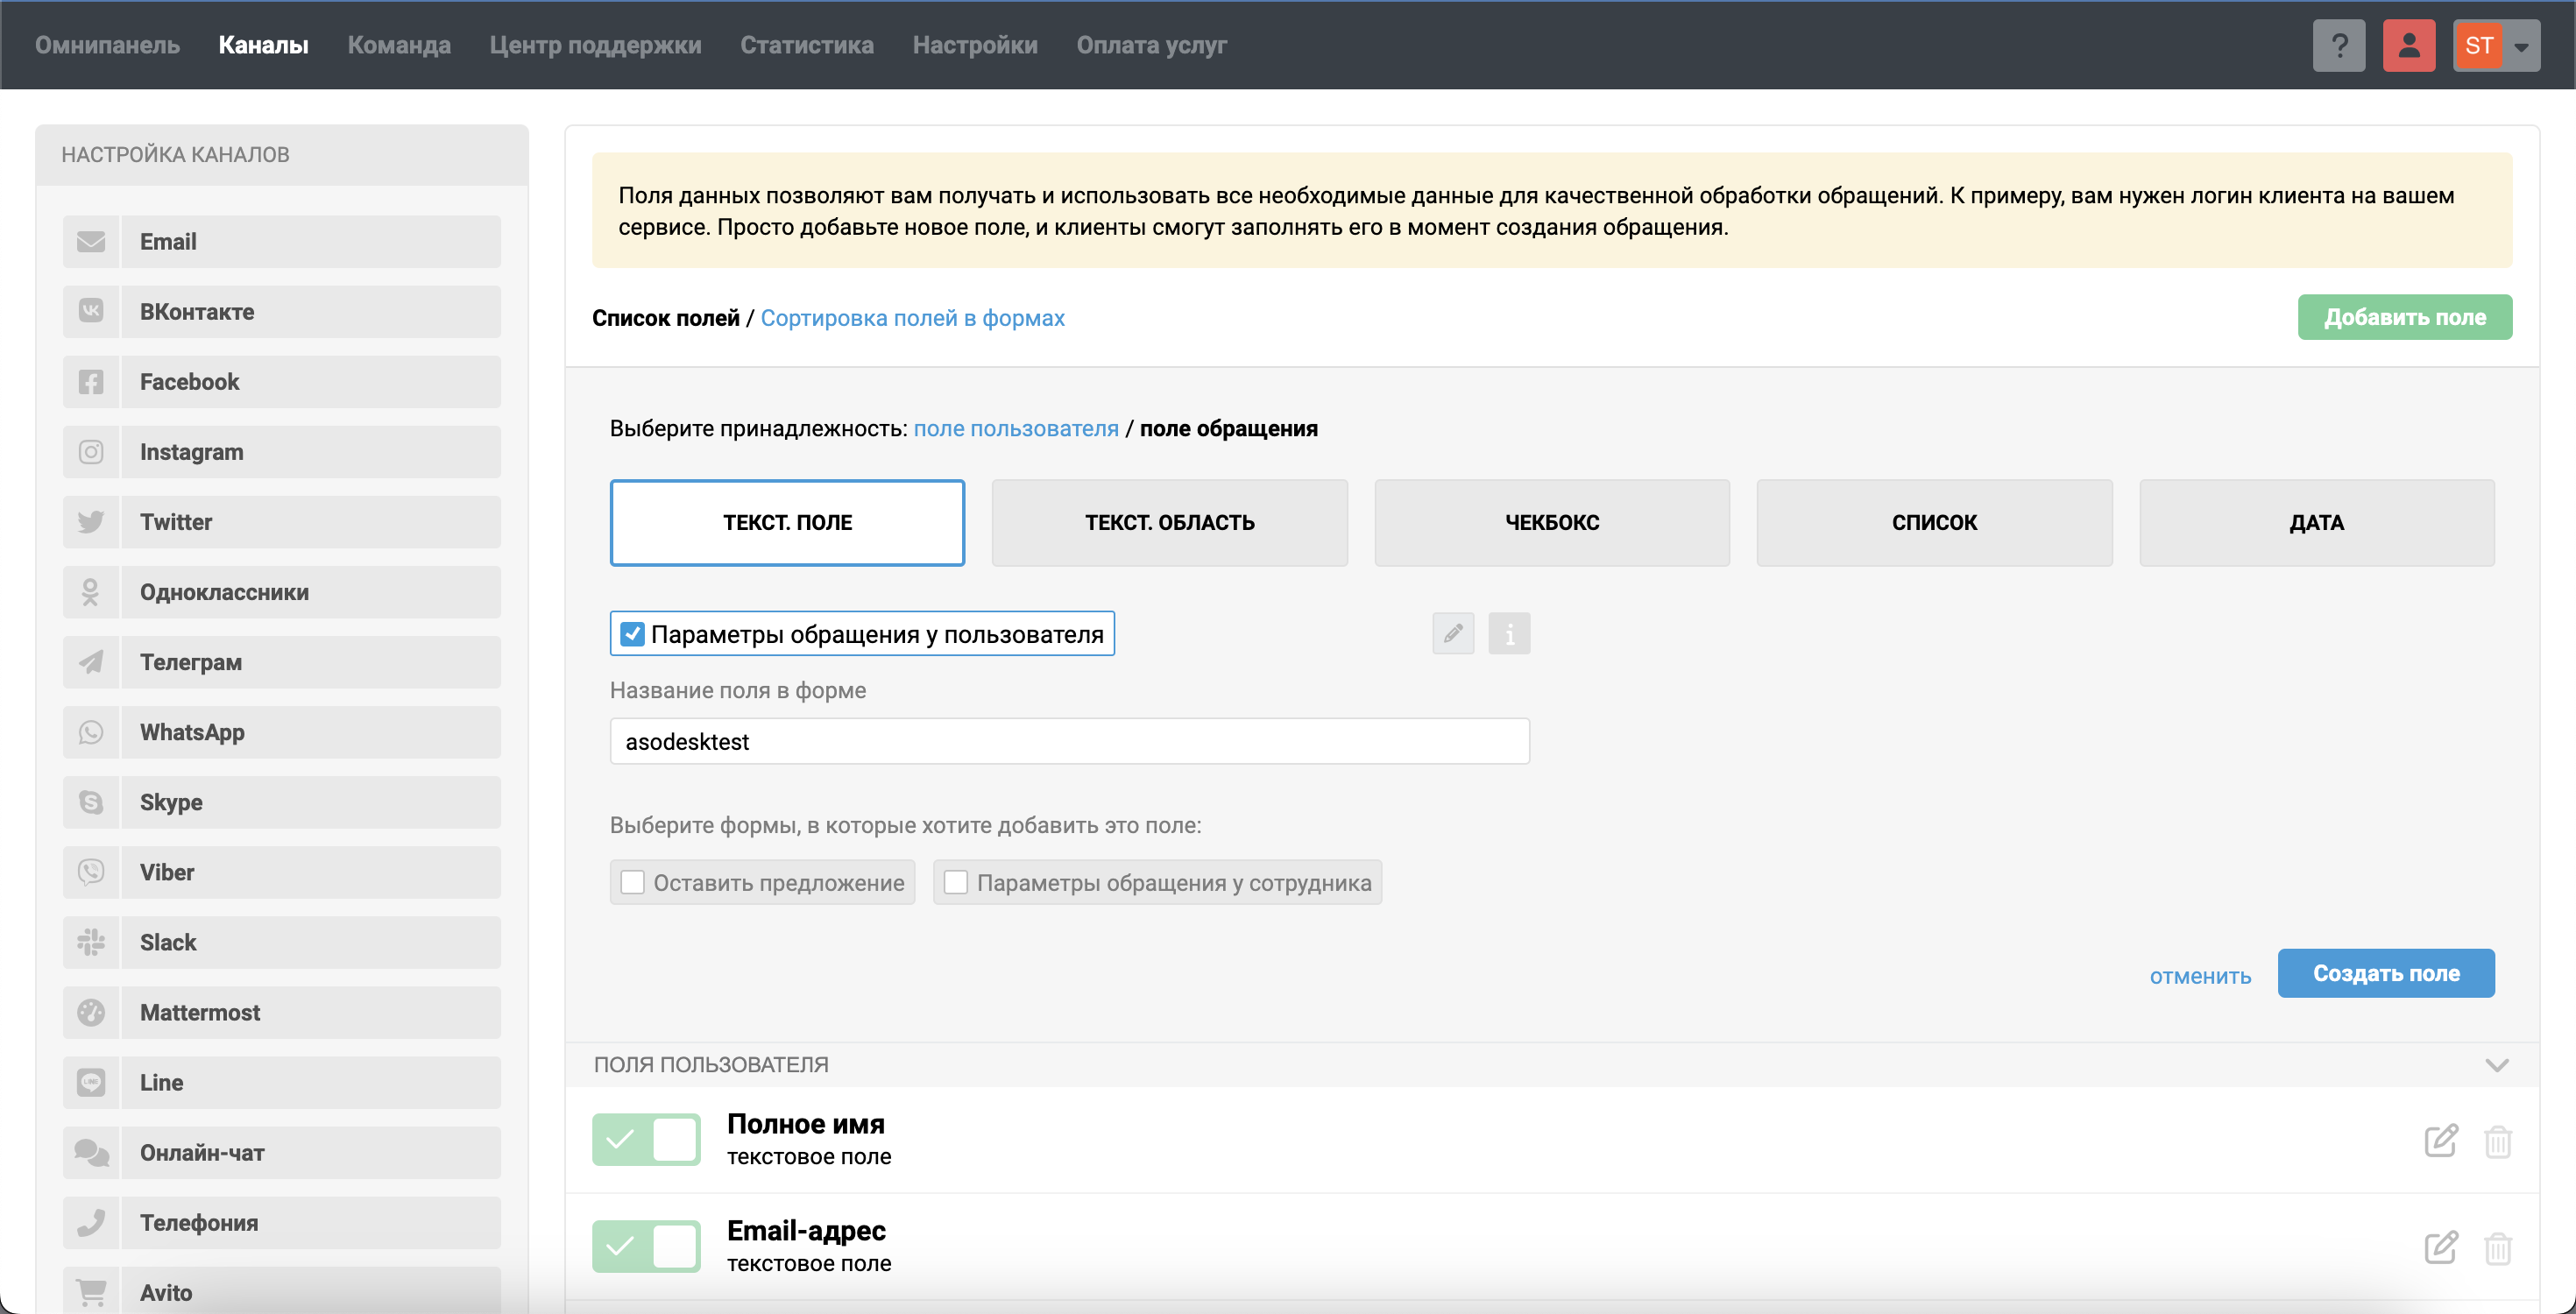
e. You will also need to create a custom query field.
Go to 'Customer Query Management' -> 'Data fields' and add a field.
Parameters must be 'Query Field' and 'Text Field'.
The 'Field name' should match your custom channel name.
You should have both 'Customer Field' and 'Query Field' after completing this step ('Customer Field' is created automatically).
Once the channel has been created, make sure to save all the data that you have copied to Asodesk.

Once the data has been successfully transmitted, a verification checkmark indicating successful authorization will be visible in the Asodesk UI.
Need help understanding our products or services? Have a question? Let us know!
Click the support icon in the bottom right corner or write on hello@asodesk.com